Equipment:
- Plastic Measuring Cups
- Black Gloves
- Scales
- Marker Pen
- Wooden Spatulas - Marked with a pen
- Glue Gun
- Scissors
- Tuberware boxes
- Tissues
- Baby Wipes
- Cling Film
- Breathing Mask
Products:
- Clay Sculpture
- Silicone A
- Silicone B
- Deadener
- Fixing Spray
- Petrolease
- Baldease
- Isopropyl Alcohol
- Colour Pigment
Method:
1: Start by making sure the work surface is clean and that cling film has been placed down. Also have everything close so both pair of gloves are out and ready for you change when changing to silicone A to silicone B, as well as baby wipes tissues and the wooden sticks marked A and B.
2: Using the fixing spray, spray on the sculpture at about 20 cm away, making sure you are by the window as well. Once the fixing spray is dried spray on petrolease at 20 cm's away and by the window.
3: While the petrolease is drying, cut the plastic cup in half using the top half to place around the sculpture( see left image), and the bottom half can be used to place all your used stuff in, instead of having to take many trips to the bin.
4: Using a hot glue gun place glue around the cup so that it sticks on to the plastic palette and that there are no gaps for the silicone to come out through the sides.

5: Putting on gloves, the breathing mask and another plastic cup, placing the cup on the scales and making sure it is on 0g. Use the wooden spatula you marked with A to measure 30g of Silicone A. It is better to use a spatula as it will help to control how much will come out as pouring it out maybe be difficult.
6: When there is 30g of silicone A in the plastic cup, the next step is to put the lid back on then using a baby wipe, wipe around the pot. Once it has been wiped it is essential that you remove those clothes and that the wooden spatula is either in the bin or far away from the other pot.
7: With new gloves on measure out 30g of silicone B, with spatula marked with the letter B. Once measured out screw lid back on tightly and wipe down the sides with a baby wipe.
8: Mix silicone A and B together with spatula B for a few seconds, then tap the cup down on the side to get rid of any big air bubbles.
9: Pour mixture over the sculpture back and forth making sure you get it right into the sculpture. Throw away the plastic cup.


10: Wait at least an hour for the silicon to set, then gently touch the silicon to see if it has set, if it feels jelly like then it needs to set for a bit longer.
11; Once the mould is set, cut down the plastic cut and take out the mould and wipe down with IPA (isoproply Alcohol). Spray the mould with petrolease by the window at 20 cm distance.
12: Making a mixture of baldease and Isoproply Alcohol of 1:2 of the products.
13: Using a brush, brush the mixture over the mould making sure you don't flood your mold with this mixture and leave to dry, to make this process quicker you can use a hairdryer on the cold setting and on a low speed.
14: Once the first layer is dried place another layer on top and allow it to dry.


The next big process is making the actual piece that will be placed on the body.
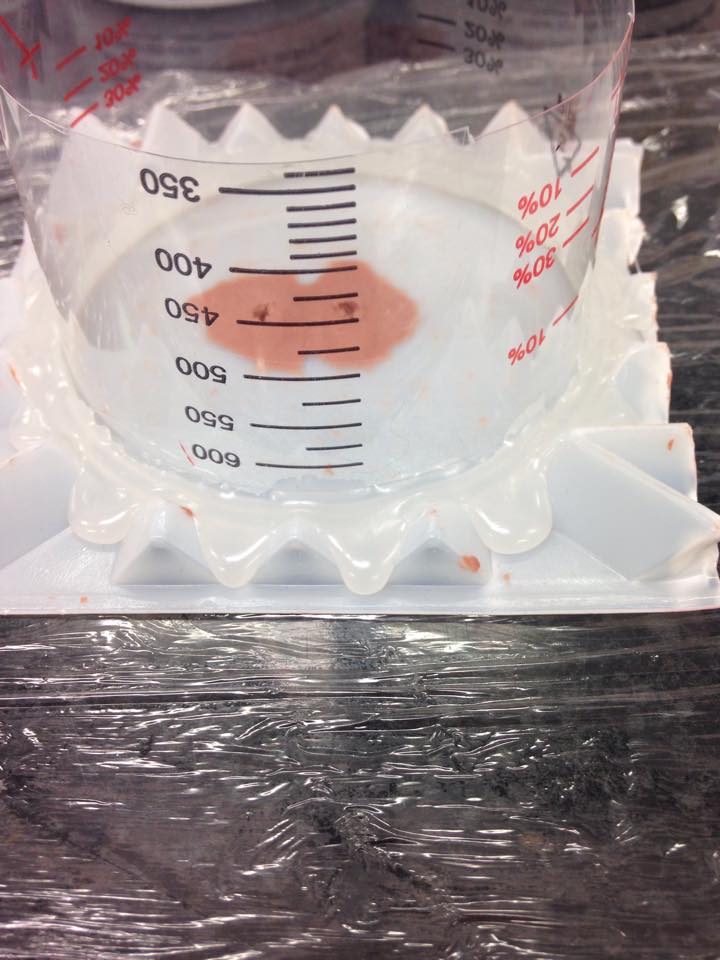
15: Mix together 8 grams of silicone A and 8 grams silicone B in the same way as first described in this post. With another spatula marked with letter C measure our 12g of deadener to the mixture and mix, this will give the fleshy feel to the moulds. To work out how much deadener you should put in is 60% of what ever the amount of both silicon A and B that has been used.
16: Add in colour pigment to the mixture to make it look like your models skin colour. Add only a few drops as it is really strong.
17: Pour the mixture over the mould back and forth again to ensure you get all into the little pieces.
18: Using a ruler scrape over the mould to get rid any excess mixture. repeat this again if it looks like the mixture is dipping in.
19: Leave to dry.
20: Once dry use talc to make sure it doesn't stick, and place in a tuber ware box to keep safe.
No comments:
Post a Comment