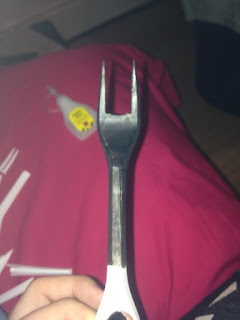
Here is the process of making the Heretic's Fork:
Step: 1
With two plastic forks, break away the two middle prongs, so you are left with just the outer two prongs. As the forks are too long for this heretics forks, the next step is to break off some of the stem, so about half way up is where you want to break it in half. Then placing one of the forks on top of the other but in the opposite direction, so that there is two prongs either end.
Carefully measure the gap between your chin and in between your collarbones, for how long you will need it, once it is at the correct length use superglue to glue them together. Once the glue is set and the forks don't come apart it, it is time to paint the fork. For this I used black water paint which wasn't the best idea but it was all I had to paint with, but I would recommend using acrylic paint as it is a lot thicker and will cover it easier and you will only need to do one coat of paint where as I am having to do a few to make sure no white is coming through.
At the start when looking for ways to make a heretic's fork, there was quite a list of things we could use such as a barbecue fork, or wooden forks, although these all would have been good materials use, but when we were shopping for them they were either too long or the prongs were too wide apart which wouldn't look arcuate. We then thought of using plastic forks, which of course was perfect for this and it was really a cheap buy. I am really happy with how this has come out, and I am now just hoping that it will add to the affect of my final image.


No comments:
Post a Comment